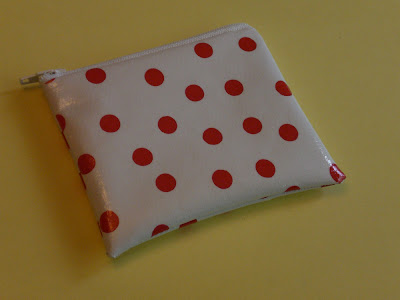
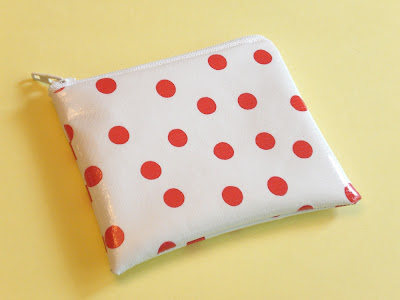
 Don, my husband, is always saying tripod, tripod, tripod and no flash no flash no flash! OK I think that all has finally set in. I am lucky that he bought a tripod in collage! Then he and I sat around playing with the i photo adjust tool. Wow, that helped a whole lot! As I am opening back up the shop (slowly) I am editing the really rotten photos that I have taken over the last year and adding the brighter photos on to the etsy listing.
But there is still so much to be desired with the photos that I am taking now. So here comes the troops with their crafty "google" knowledge! Beth sent me this Storque article and video produced by ETSY LABS. there you will find a how to video on taking a better shot. OMG! Not only is Mary too cute but they gave me wonderful piece of advise. I never new what all that menu stuff was all about. White balance! who knew? Not me that is for certain!

Also some where I read that a faster shutter speed lets in more light so I have been using the "splashing water" setting.
So by adjusting the EV shift from 0.0 to 1.7 I was able to go from this dark photo to this nice bright photo. and it is a dark cloudy day! I am shocked and delighted. Thank you etsy labs for the great articles!
This is just a start, I have much more to learn but I just had to share how easy it was to get this kind of result.
Here is the link list for better photos. If you have anything to add please leave a comment.
Taking Professional Looking Photos Without a Professional
Posie gets cozy: photo tidbits!

2 comments:
Hey, I'm Jackie.
I've had a lot of success taking pictures with a mini-macro studio, which is super cheap to make (less than a dollar if you have some boxes and things laying around) and gives your pictures amazing all around light.
All you need is a cardboard box, tracing paper, a piece of oak tag and a light.
Check out the tutorial I used here:
http://strobist.blogspot.com/2006/07/how-to-diy-10-macro-photo-studio.html
And you can see the sort of photos it takes here at my site:
http://www.prettysillythings.com
Hope that helps someone!
Hi Jackie,
Thanks for sharing! We will check that out!
Any one else have some tips?
Post a Comment